前言
在前面博客中已经提到如何创建hexo博客。但有一个问题,就是有人查看你的文章,但你不知道有多少人阅读了。因此需要添加阅读数
使用next主题
从网上搜索hexo 阅读数,都推荐使用next主题。因此我们安装next主题到themes目录下
1 | git clone https://github.com/theme-next/hexo-theme-next themes/next |
修改站点配置文件_config.yml
找到theme,然后将值改为next
1 | theme: next |
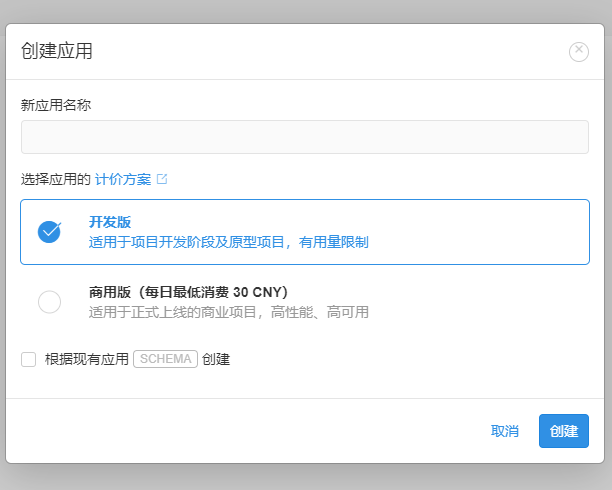
注册LeanCloud并创建应用,如图所示
创建Class
在应用的数据配置界面,找到存储,然后点击创建class,并命名为Counter如图所示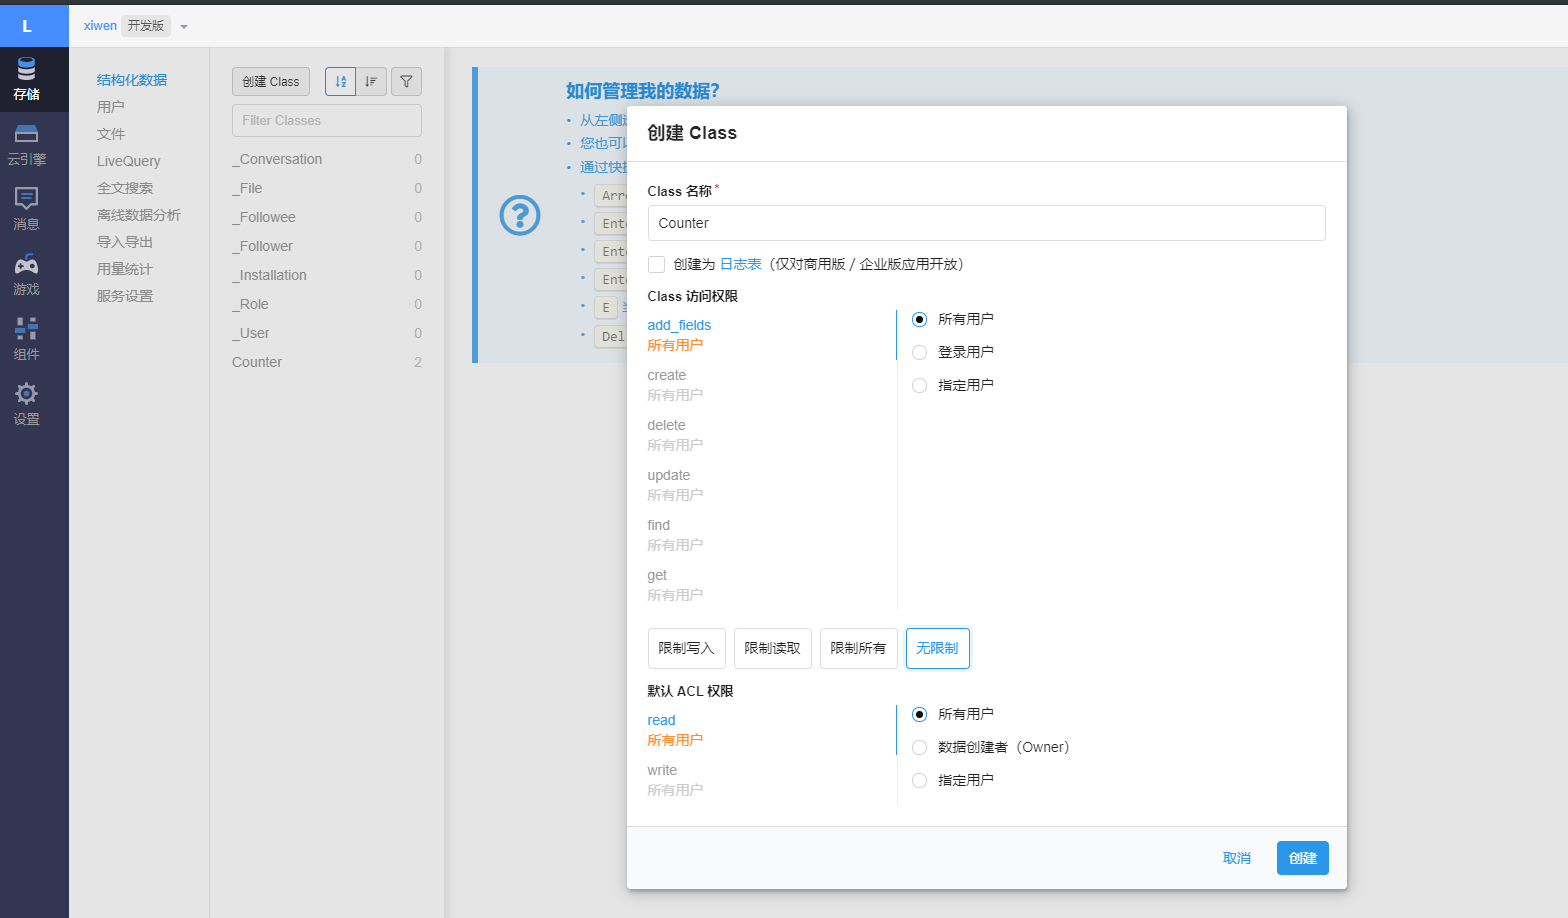
AppID和AppKey
在应用的设置界面,找到应用Keys,将里面的AppID和AppKey拷出来。然后配置next的_config.yml,找到leancloud_visitors,修改配置以下。
注意 security设置为false,因为server_url配置为国内域名的,由于我们部署在github上,由于设置为true时,通不过编译
1 | leancloud_visitors: |
修改busuanzi_count配置
1 | busuanzi_count: |
部署
1 | npm run build |
等部署完成后,去看看效果吧!!
欢迎关注作者公众号
